Introduction
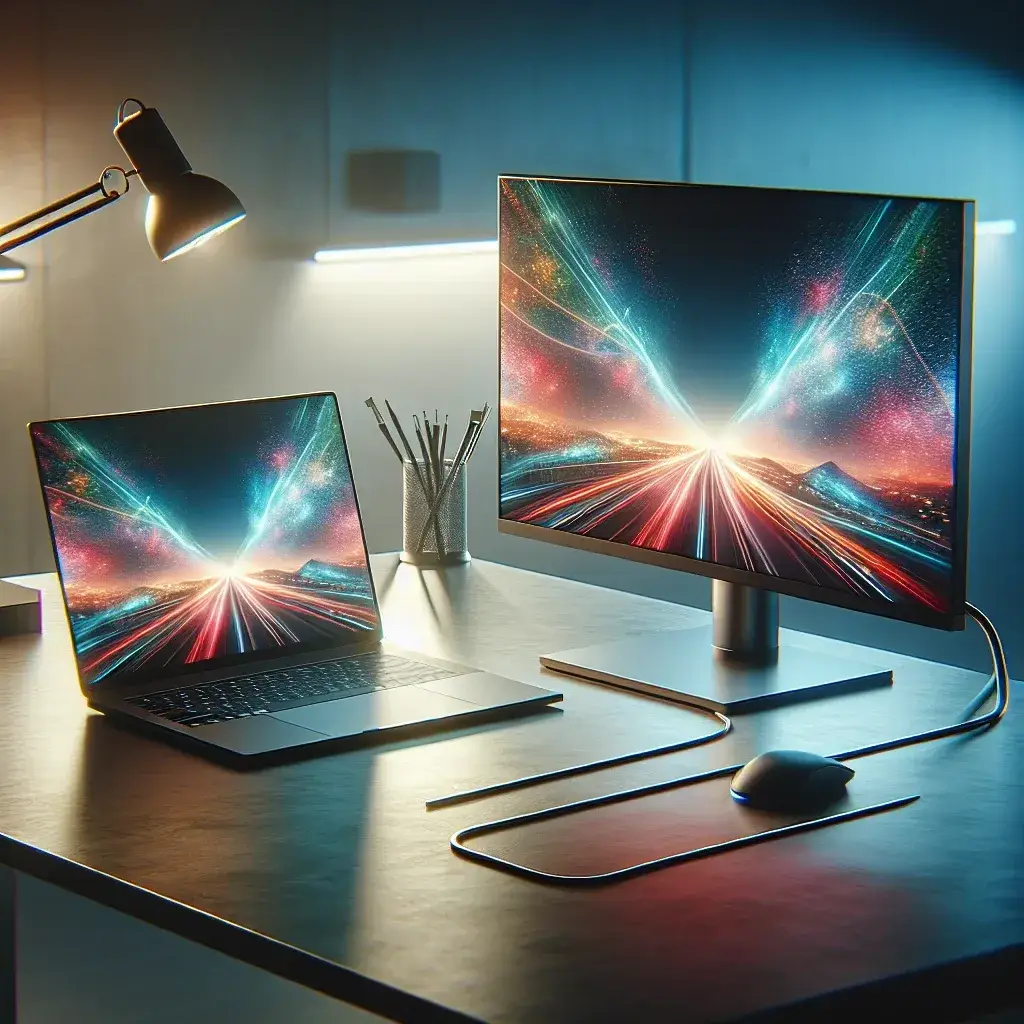
In today’s fast-paced digital world, multitasking has become a crucial skill. One way to improve your efficiency is by using an external monitor as a second screen. This article delves into how you can set up and maximize the potential of dual monitors, enhancing your productivity and overall computing experience.
Why Use an External Monitor?
Utilizing an external monitor offers several benefits that can transform your work environment:
- Enhanced Workspace: More screen real estate allows for multiple applications to be open simultaneously.
- Improved Focus: With separate screens, you can dedicate one for work and the other for communication or research, minimizing distractions.
- Better Organization: Organizing windows across two displays can streamline your workflow.
- Increased Productivity: Studies show that dual monitors can significantly boost productivity.
How to Set Up Your External Monitor
Step 1: Gather Your Equipment
To set up an external monitor, you will need:
- An external monitor compatible with your computer.
- The appropriate connection cable (HDMI, DisplayPort, VGA, etc.).
- A power source for the monitor.
Step 2: Connect the Monitor
1. Turn off your computer and the monitor.
2. Connect one end of the cable to the monitor and the other end to your computer.
3. Power on the monitor and then your computer.
Step 3: Configure Display Settings
Once connected, you may need to adjust the display settings:
- For Windows:
1. Right-click on the desktop and select Display settings.
2. You will see the layout of your monitors. Click on Identify to see which screen is which.
3. Choose the desired display mode (Extend, Duplicate, or Second screen only).
1. Click on the Apple menu and select System Preferences.
2. Click on Displays and then Arrangement.
3. Here, you can arrange your displays and choose to mirror or extend the desktop.
Using Your Dual Monitor Setup Effectively
Organizing Your Workspace
Once your monitors are set up, it’s crucial to organize your workspace effectively:
- Application Management: Keep your primary tasks on the main screen while using the secondary for supporting applications.
- Window Snapping: Use window snapping features to align and size your windows perfectly.
- Taskbar Management: Customize your taskbar to display on both monitors or only on one for reduced clutter.
Adjusting Screen Settings for Comfort
Ensure your screens are set up for comfort:
- Adjust brightness and contrast for both monitors to minimize eye strain.
- Consider color calibration, especially if you are working with design or video.
- Position your monitors at eye level to prevent neck strain.
Common Issues and Troubleshooting
While setting up an external monitor is generally straightforward, you may encounter some issues:
1. No Signal Detected
Check the cable connections and ensure the monitor is powered on. Try a different cable if necessary.
2. Displays Not Recognized
Reboot your computer and check the display settings again. Make sure the correct input source is selected on the monitor.
3. Resolution Issues
Adjust the resolution in your display settings to match the native resolution of your external monitor for the best display quality.
Conclusion
Using an external monitor as a second screen can drastically improve your productivity and enhance your workspace. By following the steps outlined in this article, you can set up your dual monitor system with ease and start reaping the benefits immediately. Whether you’re working on complex projects or simply browsing, a second screen can provide the flexibility and efficiency you need to thrive in your digital environment.